How to Create Your First Laravel Controller

When building web applications with Laravel, one of the most important concepts to understand is the role of controllers. Controllers act as the central point for handling requests and controlling how data flows between the application's models and views.
In small applications, developers might place logic directly inside route files. However, as an application grows, this approach quickly becomes difficult to maintain. Controllers solve this problem by organizing application logic into dedicated classes.
Laravel encourages developers to use controllers as part of the Model-View-Controller (MVC) architecture. This architecture separates application logic, data handling, and presentation layers. By following this pattern, developers can build cleaner, more maintainable applications.
In this guide, we will walk through the process of creating your first Laravel controller. You will learn what controllers are, how to generate them using Laravel's Artisan command-line tool, and how they connect with routes and views in a Laravel application.
A controller in Laravel is a class that handles incoming HTTP requests and returns responses to the user. Controllers allow developers to move application logic out of route files and into organized classes.
Instead of writing code directly inside a route definition, you can create a controller method that performs the required action. The route then simply calls the appropriate controller method.
This approach improves code organization and makes applications easier to manage, especially when multiple developers are working on the same project.
Controllers typically handle tasks such as retrieving data from models, processing user input, and returning views or JSON responses.
Because controllers play such an important role in Laravel applications, understanding how to create and use them is essential for every Laravel developer.
Laravel provides a command-line tool called Artisan that simplifies many development tasks. One of these tasks is generating controllers automatically.
Instead of manually creating files and writing boilerplate code, developers can use an Artisan command to generate a controller instantly.
php artisan make:controller PostControllerAfter running this command, Laravel will generate a new controller file inside the following directory:
app/Http/Controllers/PostController.phpThis file will contain a basic controller class that you can customize.
When Laravel generates a controller, it creates a PHP class that extends the base controller provided by the framework.
Inside this class, developers can define methods that handle specific application actions.
Each method can represent a different action such as displaying a page, saving data, or processing a form submission.
<?php

namespace App\Http\Controllers;

use Illuminate\Http\Request;

class PostController extends Controller
{
    public function index()
    {
        return "This is the Post Controller.";
    }
}
In this example, the index method returns a simple message when it is executed.
After creating a controller, the next step is to connect it to a route. This allows Laravel to call the controller method when a specific URL is visited.
Routes are typically defined inside the routes/web.php file for web applications.
Instead of using a closure inside the route definition, you can reference a controller and method.
use App\Http\Controllers\PostController;

Route::get('/posts', [PostController::class, 'index']);
When a user visits /posts, Laravel will execute the index method inside the PostController.
This approach keeps the route file clean and moves the application logic into the controller.
Controllers are commonly used to return views that display content to users.
A view in Laravel is typically a Blade template located in the resources/views directory.
Controllers can return views by using the view() helper function.
public function index()
{
    return view('posts.index');
}
In this example, Laravel will render the Blade template located at:
resources/views/posts/index.blade.phpUsing controllers to return views helps maintain a clean separation between application logic and presentation.
In many cases, controllers need to send data to views so that the information can be displayed on the webpage.
Laravel makes this process simple by allowing developers to pass variables directly to the view.
public function index()
{
    $title = "My First Laravel Controller";

    return view('posts.index', [
        'title' => $title
    ]);
}
The view can then display the value of the $title variable.
<h1>{{ $title }}</h1>This dynamic approach allows developers to build flexible user interfaces.
Laravel also provides a special type of controller called a resource controller. Resource controllers are designed for applications that follow CRUD operations (Create, Read, Update, Delete).
When creating a resource controller, Laravel automatically generates several methods used for handling typical CRUD actions.
php artisan make:controller PostController --resourceThis command generates methods such as:
index
create
store
show
edit
update
destroy
These methods correspond to common database operations used in web applications.
As your application grows, controllers may contain multiple methods that handle different tasks. It is important to keep controllers organized and focused.
Each controller should ideally handle a specific feature or resource within the application.
For example:
PostController handles blog posts
UserController handles user-related actions
ProductController handles product management
Following this structure keeps the codebase clean and easier to maintain.
Developers should also avoid placing too much logic directly inside controllers. Complex logic should often be moved to service classes or models to keep controllers lightweight.
To build scalable Laravel applications, developers should follow several best practices when working with controllers.
First, controllers should focus on handling requests and responses rather than performing heavy business logic.
Second, use meaningful method names that clearly describe what the method does.
Third, separate responsibilities by using different controllers for different resources.
Finally, combine controllers with Laravel features such as middleware, validation, and Eloquent models to build robust applications.
Following these best practices ensures that your application remains organized and maintainable as it grows.
Controllers are a core component of the Laravel framework and play a key role in organizing application logic. By moving request-handling logic into controllers, developers can keep route files clean and maintain a well-structured codebase.
In this guide, we explored how to create a Laravel controller using the Artisan command, connect controllers to routes, return views, and pass data to templates.
Understanding how controllers work is an essential step for anyone learning Laravel. Once you become comfortable using controllers, you will be able to build more complex and scalable applications.
As you continue your Laravel journey, mastering controllers will help you write cleaner code and follow modern web development best practices.
 Mar 07, 2026
Learn how Laravel routing works in this beginner-friendly guide. Understand how...
 Mar 07, 2026
Understanding the Laravel project structure is essential for every Laravel devel...
 Mar 06, 2026
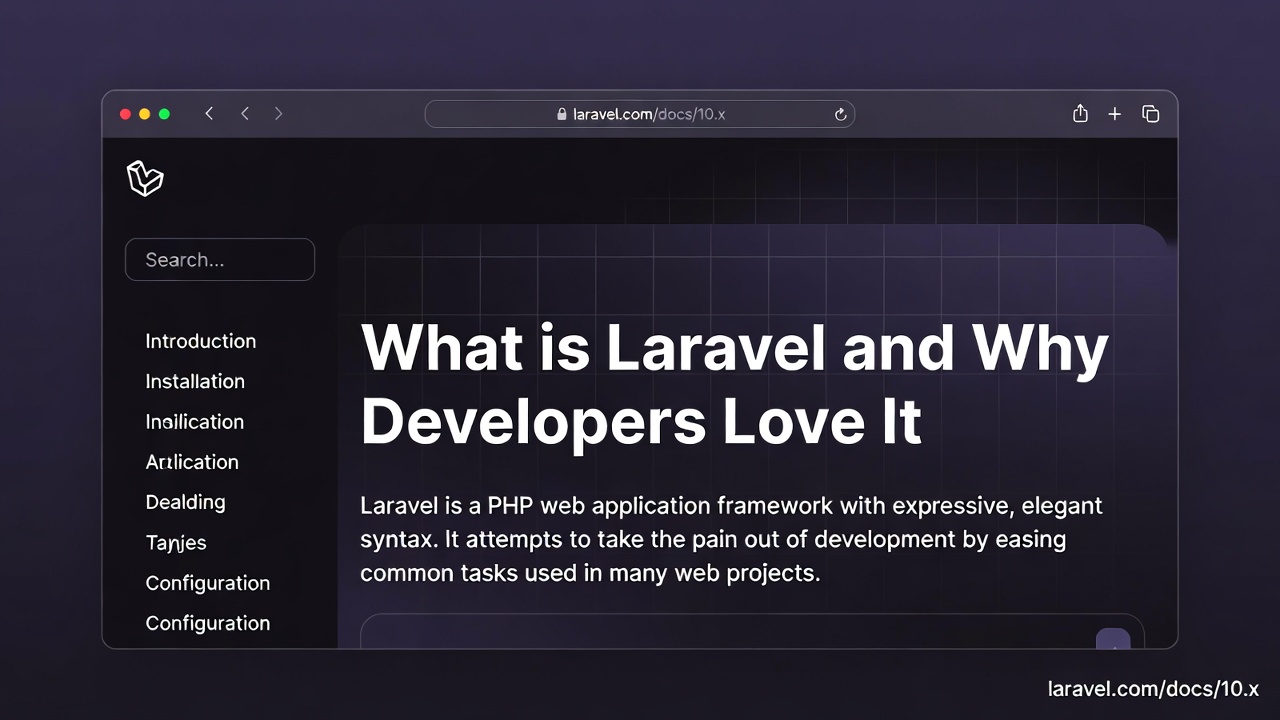
Laravel is one of the most popular PHP frameworks used by developers around the...

Leave a Comment